THE BANSHEE ZONE
Front Brake Pad Installation
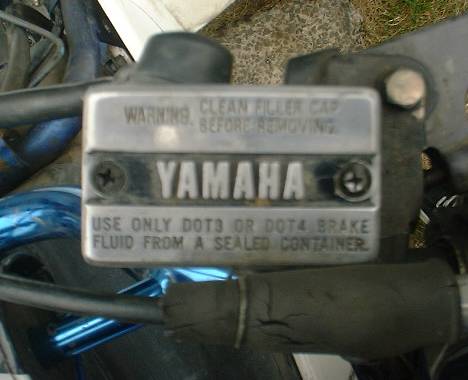
This page shows how to install front brake pads on your Banshee. The Banshee shown in the pictures are my 1988 model year. The 1987 and 1988 have a different style front caliper than the newer models, but brake pad installation should be similar. Before you start the job, take note on how the brake pads sit in the holder and how the brake pad retainer clips or brake pad shims are fitted in the brake pad holder. Now onto the install and pics.........
First step is to loosen this bolt, this bolt will allow the brake pad holder to swivel out from the brake caliper. Loosen this bolt before you remove the caliper from its mount.
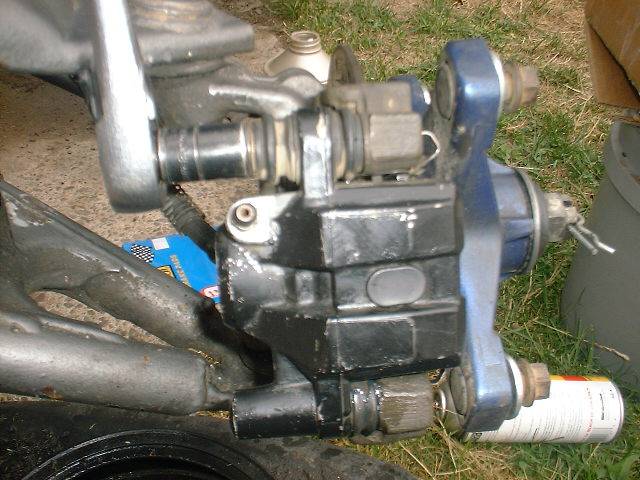
Remove the top and bottom bolts that mount the brake caliper.
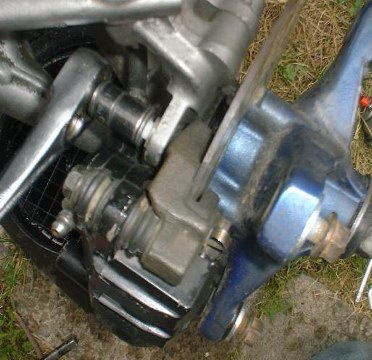
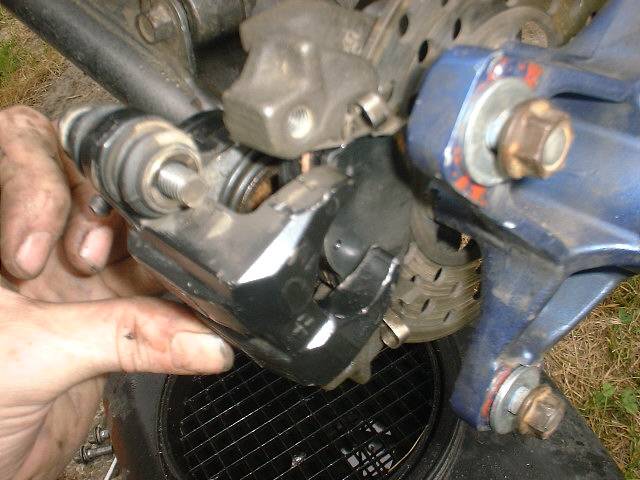
Remove the caliper from its mount and the brake pads should come right out. One brake pad is still seen in the caliper and the other pad is seen on the ground. The brake pad on the ground is worn out completely, and the brake pad that is still in the caliper has plenty of material left on the pad. This was caused by either a sticking caliper piston or the pad retainer clips were not in position. The retainer clips looked to be in place, so I will remove the caliper piston and clean up the caliper bore and piston.
Now is good time to remove the cover on the front master cylinder. When the caliper piston is removed from the caliper you will lose the brake fluid in the brake line to that caliper. You will need to bleed the brakes if you remove the caliper piston, or disconnect the brake line from the caliper.
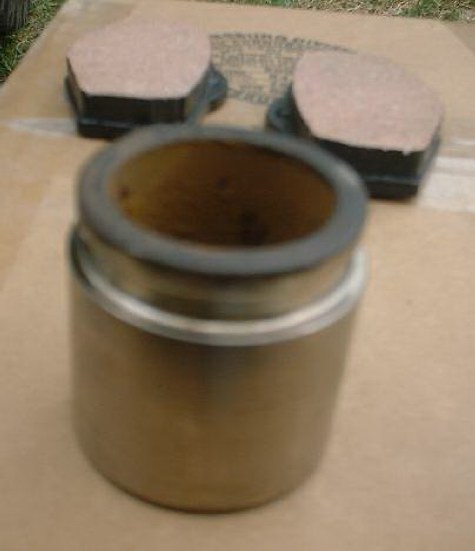
To remove the caliper piston all you need to do is pump the front brake lever and the piston will pop out. When the piston "pops out" the brake fluid will drain, so have a pan ready. This picture show the caliper piston and two new front brake pads in the background.
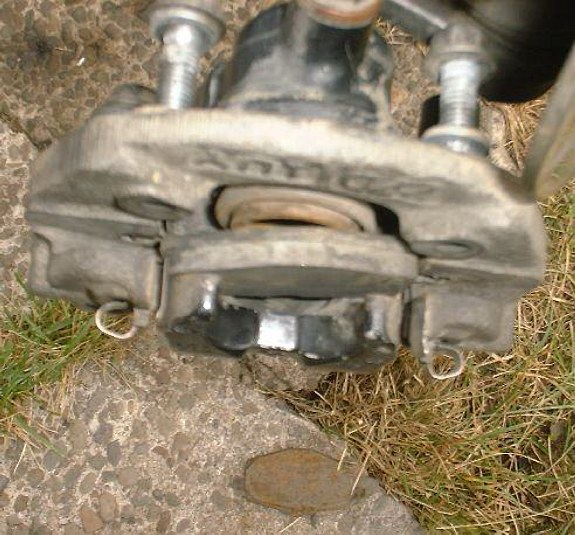
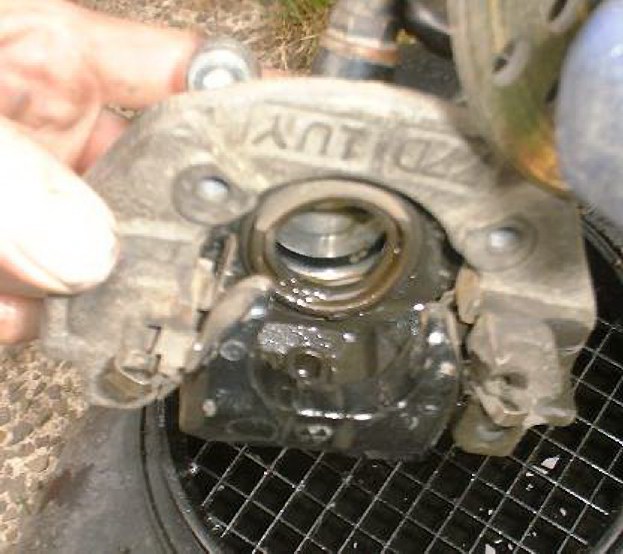
This picture show the caliper with the piston removed. Clean out the caliper bore with clean brake fluid, wipe any dirt out with a rag. I used spray carburetor cleaner to clean out the hard to reach places inside the caliper bore, just remember to flush it all out with brake fluid. Inspect the rubber boot and the seal inside the bore and be careful not to damage the bore or the seal. The brake line stays attached during the whole procedure, you can remove the brake line to clean out the caliper easier, but it is not necessary. Bleeding the brakes will be discussed on a separate page that will be added soon.
Now that the caliper piston and caliper are clean, reinstall the piston back into its bore. Now back to the brake pads. Remove the bolt that was loosened in the first picture, this will allow the brake pad holder to swivel out for easy installation of the brake pads. Install both brake pads and make sure the retainer clips are in position. These brake pad retainer clips are difficult at times, keep your patience.
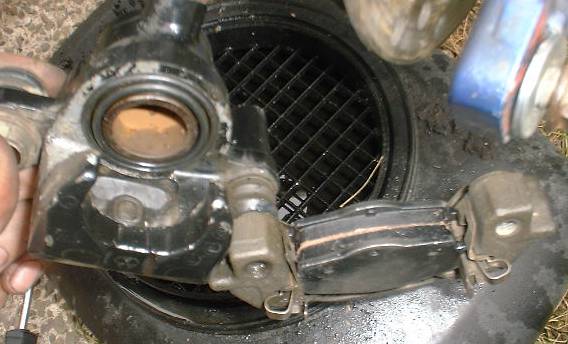
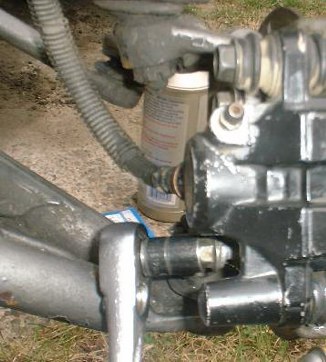
Now put the brake pad assembly onto the brake rotor, the brake pad holder has been removed completely from the caliper. Once the pads are in position on the brake rotor, simple put the caliper back on the brake pad holder.

This picture show the caliper being reattached to the brake pad holder. The brake pad holder has a shaft that can been seen in the previous picture, put the caliper back onto this shaft and rotate the caliper so you install the top bolt that mounts the caliper to the brake pad holder. Now simply reinstall the 2 caliper mounting bolts and your done.... unless you need to bleed the lines... but thats another story.
TBZ Website Updates | Banshee Zone Board | SIGN THE GUEST BOOK | Top End Rebuild | Bottom End Rebuild | Transmission Pics | Kick starter Related | Clutch and Stator | General Specs | Torque Specs | Carburetor Specs | Pilot Jet Page | Air Screws Page | Needle Jet | Main Jet Page | Cool Head Compression Chart | V.I.N. Chart | Cylinder Bore Chart | Banshee Zone Color Scheme Chart | Premix Chart | Banshee Zone Gallery Page 1 | Banshee Zone Gallery Page 2 | Banshee Zone Gallery Page 3 | Banshee Zone Gallery Page 4 | Banshee Zone Gallery Page 5 | Banshee Zone Gallery Page 6 | Banshee Zone Gallery Page 7 | Banshee Zone Gallery Page 8 | ATV Links | ATV Logos | Vote For The Banshee Zone | Banshee Web Poll | BLUETRAXX.COM Yamaha Chat Room | Maier Radiator Cover | Toomey 2:1 Air Filter System | JL Billet Kick Starter | Hinson Billet Brake Pedal | Pro-Taper Handlebars | Vito's 404 Big Bore + A/R Porting | Ported Big Bore Top End Installation | CPI PIPE PICTURES | FMF FATTY PIPE PICTURES | PAUL TURNER PIPE PICTURES | PRO CIRCUIT PIPE PICTURES | TOOMEY T-5 PIPE PICTURES | Banshee Parts Microfiche | Front Brake Pad Installation | Rear Brake Pad Installation | Repacking Your Aftermarket Silencers | Ignition Timing | My Banshee | The Strippins | Lots Of Banshee Pictures
Front Brake Pad Installation